Funco4JM
Active member
- May 5, 2021
- 227
- 127
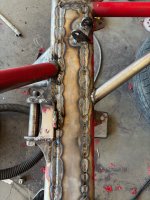
Are the Tatum knuckles set up for a Uniball lower or you changing that to a heim with misalignment spacers?
Follow along with the video below to see how to install our site as a web app on your home screen.
Note: This feature may not be available in some browsers.

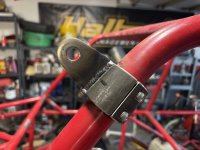
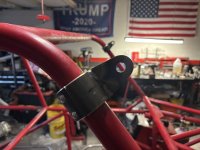
His picture shows uniball bottom and heim top.Are the Tatum knuckles set up for a Uniball lower or you changing that to a heim with misalignment spacers?
Correct, but the knuckle looks to be set up for heim and misalignment spacers on the bottom. The arm is uniball.His picture shows uniball bottom and heim top.


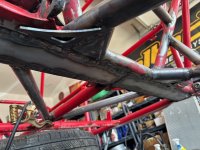
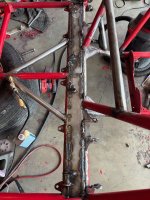
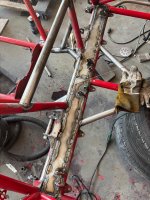
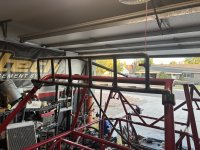
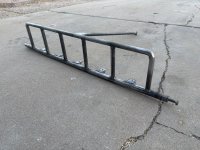
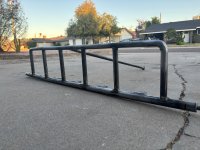
Thanks Jerry! Seems like this is really the only weak point of these cars. Gotta finish the reinforcements, then the windshield and itll be ready for powder!Coming along nicely!
Can’t agree more!Time to drop in an S4 and Blower motor!!! You gotta keep up with the Honda
 S4 and likely a set of twins on this LS1!!